DIY Table Saw with Router and JoinTech Fence
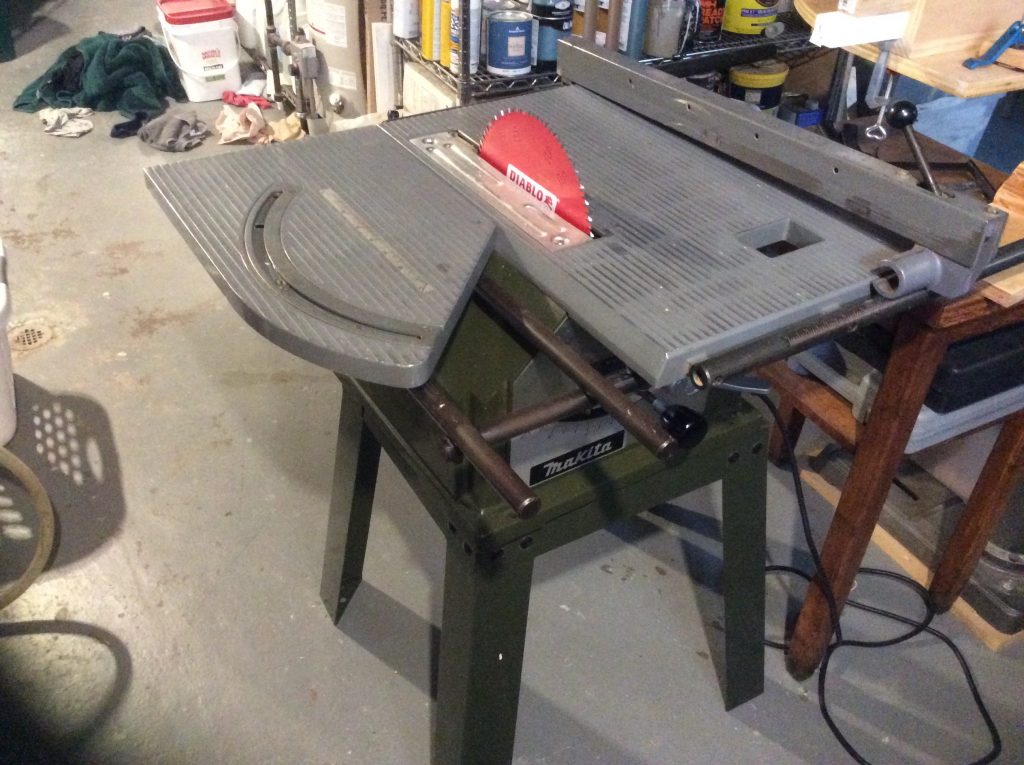
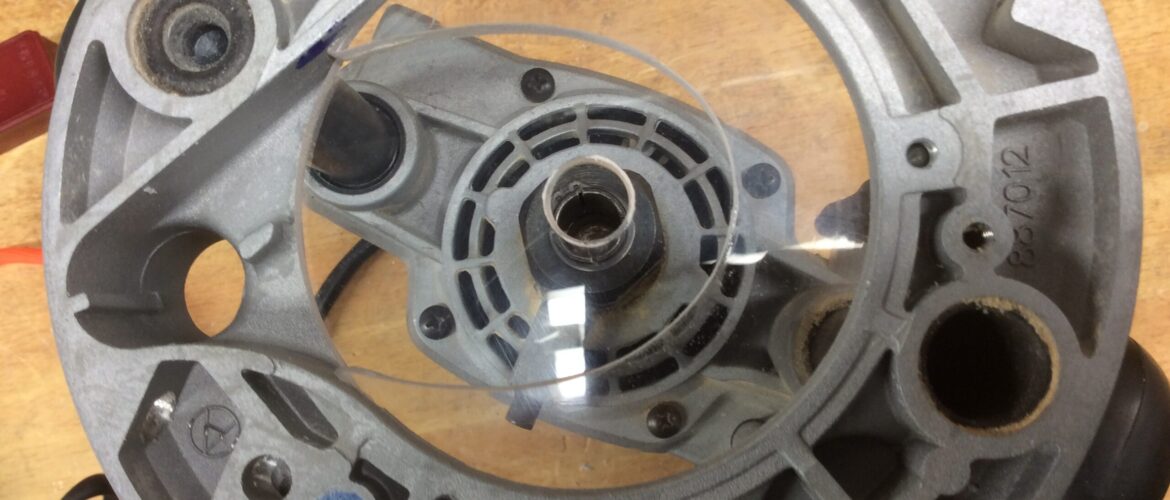
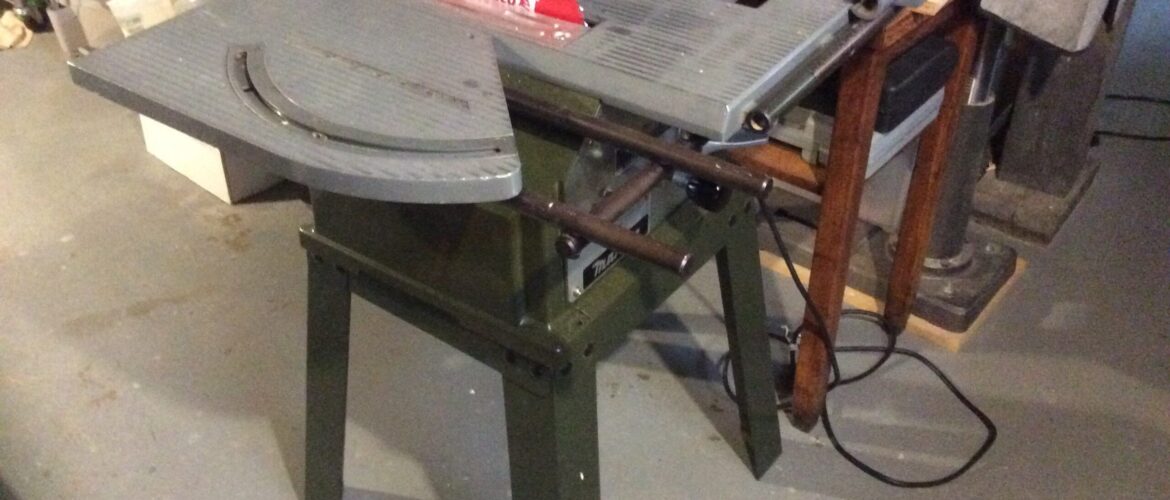
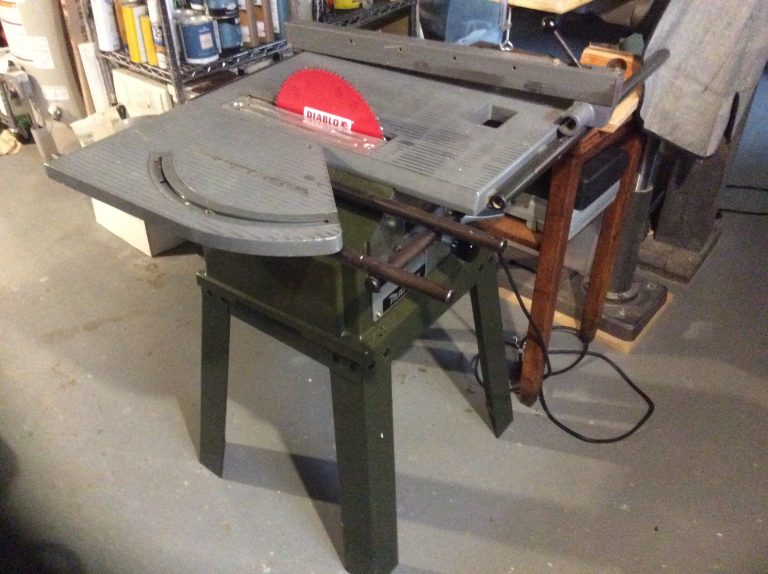
I purchased this Makita 2711 for a DIY table saw and combined it with a router to save shop space. It came with the miter fence and manual for $50. I might also add a Jig Saw as a third tool. Here you see it after I added a 10″ blade and replaced the brushes. At max height of 3.5″ with the 10″ blade. Rated at 3800 rpm with a 15 amp 2.5 hp motor and an electronic brake it will work well for this project. This DIY project includes using a JoinTech CabinetMaker System still in the shipping boxes to use on this table. Since this JoinTech System is designed to go with a Delta tablesaw, using the Makita 2711 will be a unique challenge.
Project Posts

DIY Table Saw Contsruction
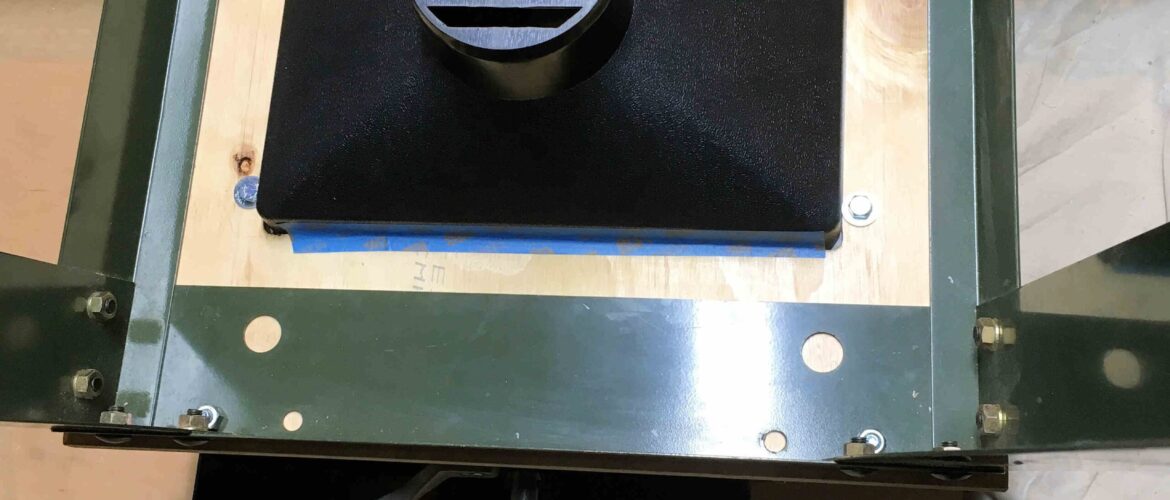
This is my initial list of steps to build the table saw. I will add pictures and notes as I progress. Makita dust port. Attach finished Makita saw 4″ dust…
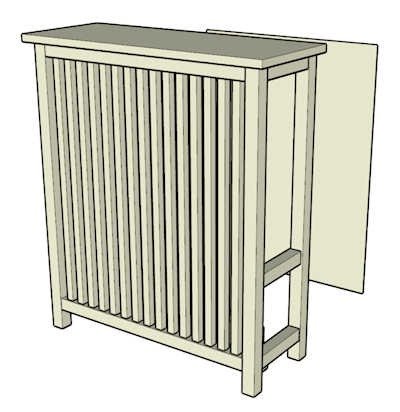
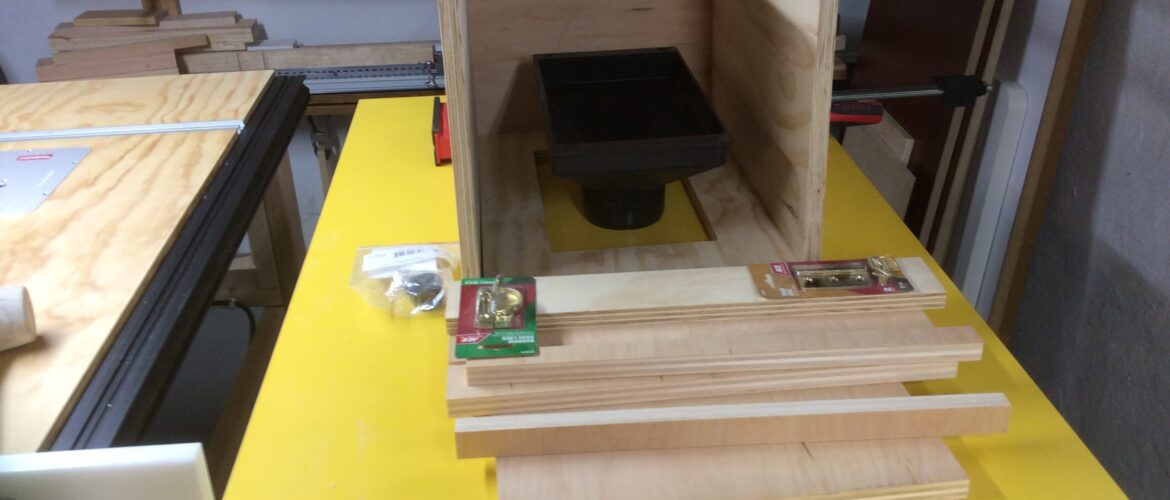
DIY Mortiser
DIY Mortiser To build my radiator covers, I would like to use mortise and tenon joinery. Making the tenons using a router table and a jig seems doable. Trouble is…
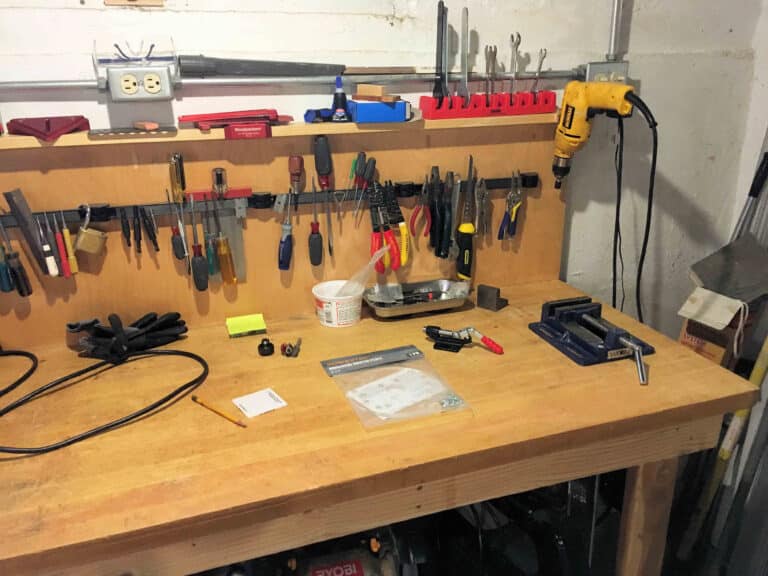
Shop Workbench
This butcherblock table top is something I purchase when I was in high school to be flat and sturdy. Today I have added a back to keep things from falling…
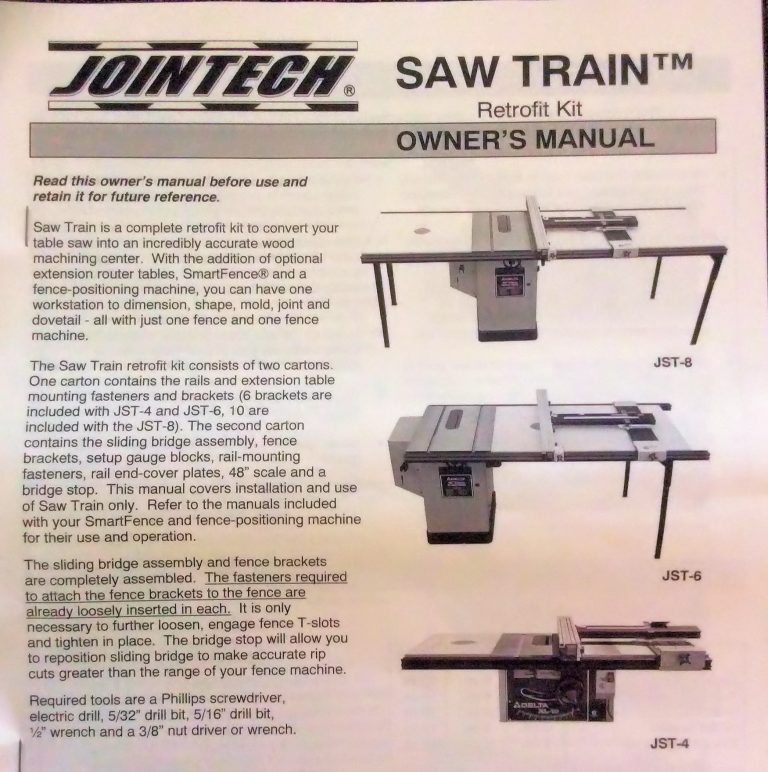
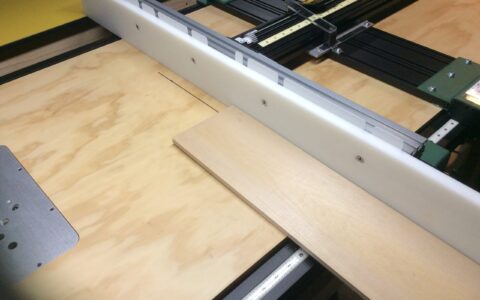
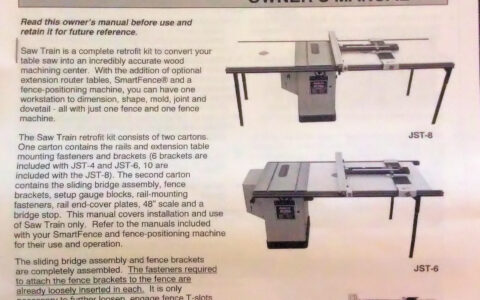
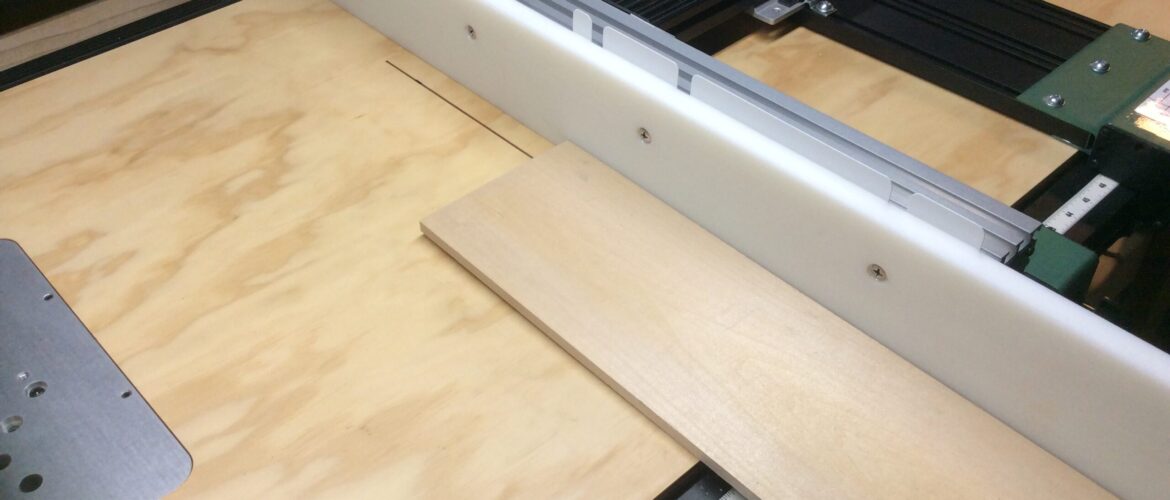
Configuring my DIY Table Saw with Router
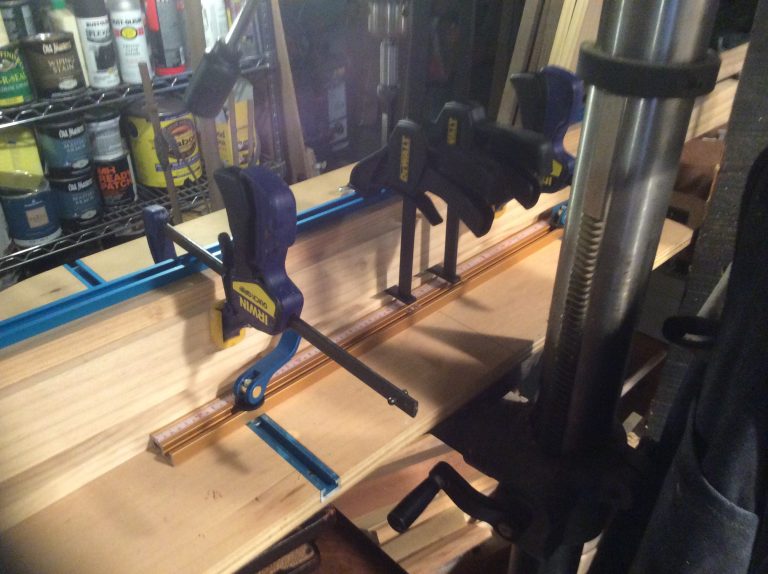
The JoinTech manual shows three table Delta table saw/router configurations based on the length of the table. I have the 6′ rails, which puts the saw on the far left…

Betterley Stacc-Vac
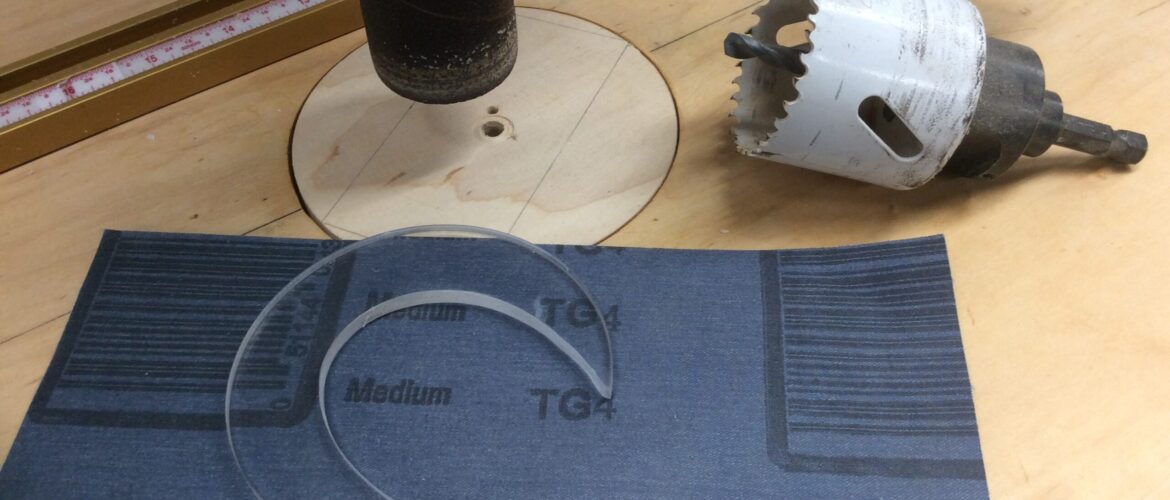
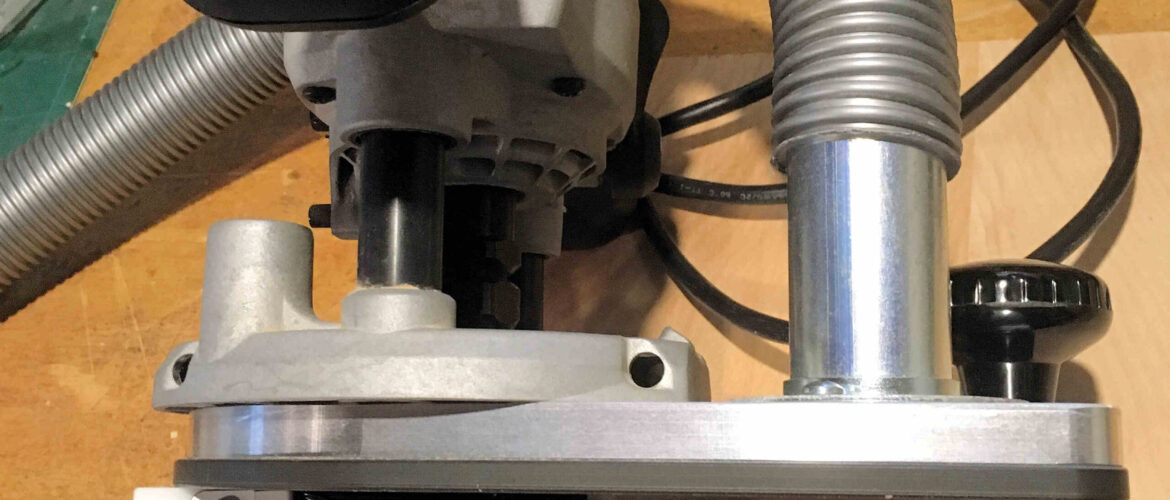
Betterley Stacc-Vac This was purchased this years ago, but never had the opportunity to put it to use. I can see using my refurbished Porter Cable plunge router for edge…
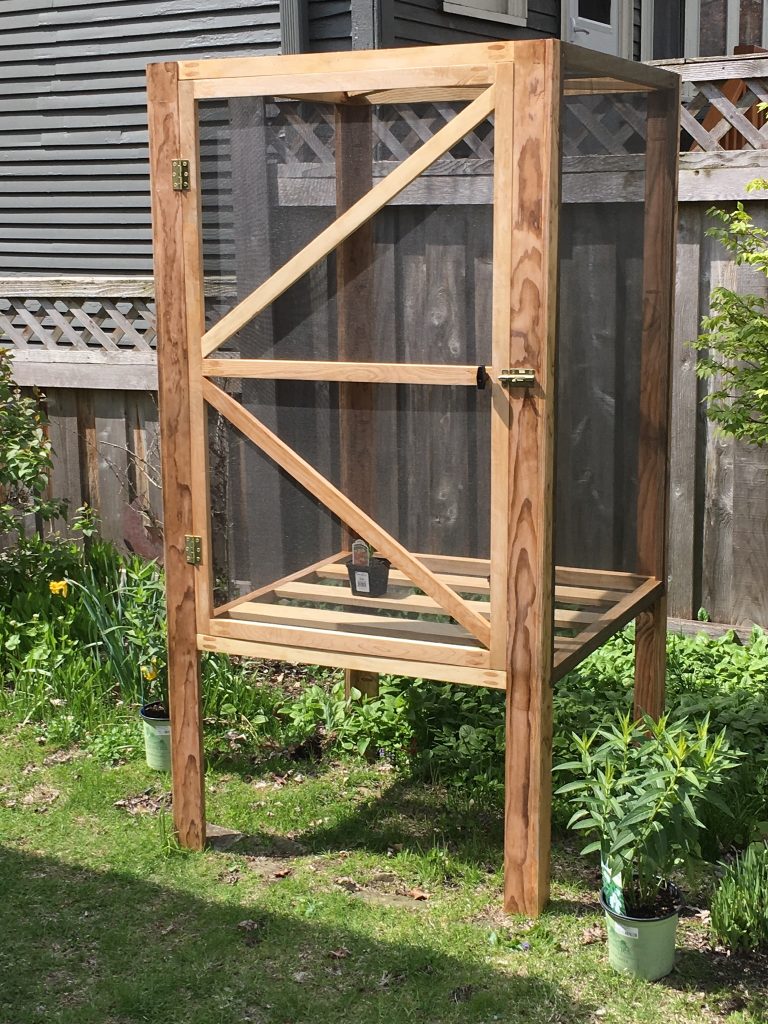
Monarch Hatchery
Common Milkweed (Asclepias syriaca)Ice Ballet Swamp Milkweed (Asclepias incarnata)Butterfly Weed (Asclepias tuberosa) Inspired by by neighbors, I decided to attempt making a monarch butterfly hatchery for this spring. Once the…
DIY Table Saw and Router Table
In this post I will walk thru a unique DIY project to build an inexpensive combo table saw, router table and maybe a jigsaw to add to my very limited…